


DIY: Φτιάξε Μόνος σου τη Δική σου Βιβλιοθήκη Τοίχου

Η βιβλιοθήκη τοίχου δεν είναι απλώς ένας πρακτικός τρόπος για την
αποθήκευση των βιβλίων σας, αλλά και ένα κομμάτι διακόσμησης που μπορεί να
δώσει χαρακτήρα σε κάθε δωμάτιο. Αντί να επενδύσετε σε έτοιμες λύσεις, γιατί να
μην δημιουργήσετε τη δική σας; Με λίγη φαντασία, μεράκι και τα κατάλληλα υλικά,
μπορείτε να φτιάξετε μια βιβλιοθήκη που θα αντικατοπτρίζει το προσωπικό σας
στυλ και θα ταιριάζει απόλυτα στις ανάγκες σας.
Οργάνωση και Σχεδιασμός
Πριν ξεκινήσετε, αφιερώστε χρόνο για να σχεδιάσετε τη βιβλιοθήκη σας. Αναρωτηθείτε:
- Ποια θα
είναι η χρήση της;
Θα αποθηκεύετε μόνο βιβλία ή και διακοσμητικά αντικείμενα;
- Πόσος
χώρος χρειάζεται;
Μετρήστε προσεκτικά τον τοίχο σας για να προσδιορίσετε τις διαστάσεις.
- Ποιο
στυλ προτιμάτε;
Θέλετε κάτι μοντέρνο και μινιμαλιστικό ή μια πιο κλασική και ρουστίκ
εμφάνιση;
Σχεδιάστε ένα πρόχειρο σκίτσο για να έχετε μια εικόνα του τελικού
αποτελέσματος.
Επιλογή Υλικών
Η επιλογή των υλικών θα καθορίσει τόσο την αισθητική όσο και τη
λειτουργικότητα της βιβλιοθήκης σας. Μερικές ιδέες:
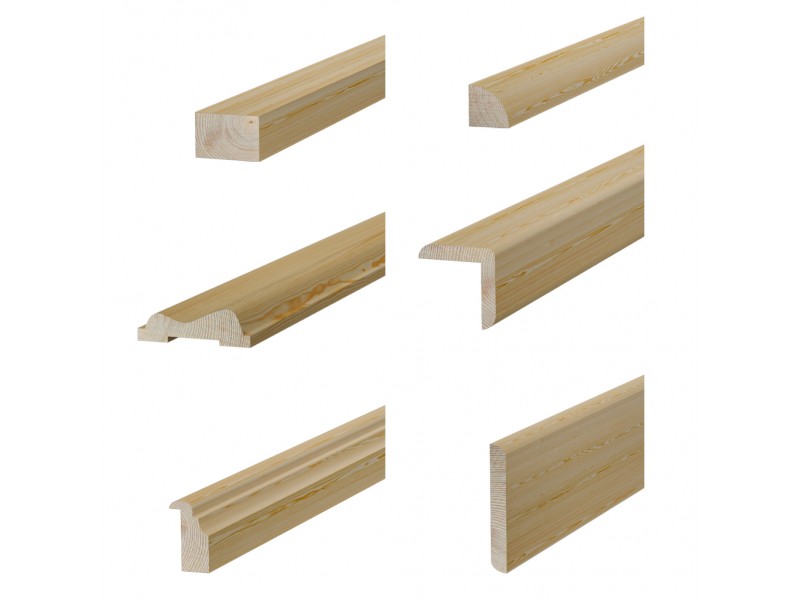
- Ξύλο: Μια κλασική και διαχρονική επιλογή,
διαθέσιμη σε πολλές αποχρώσεις και φινιρίσματα.
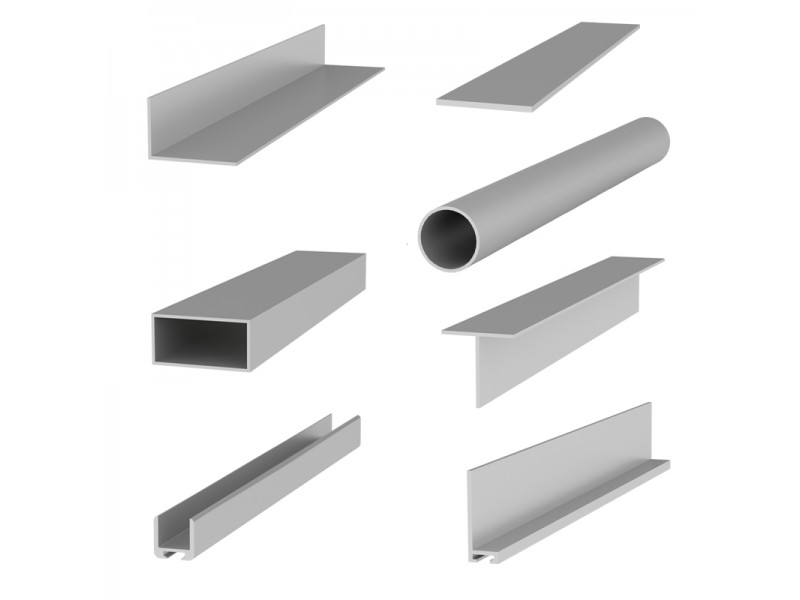
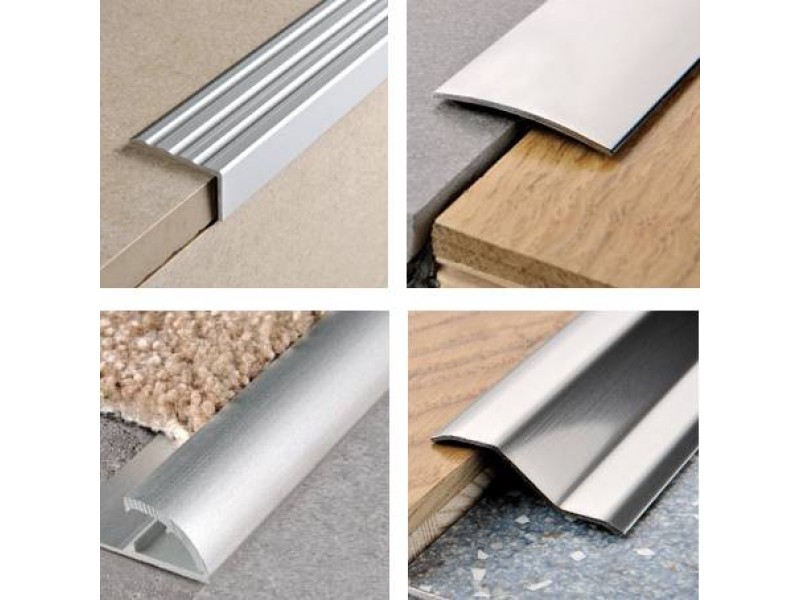
- Μεταλλικοί
Σκελετοί: Ιδανικοί
για μοντέρνο ή βιομηχανικό στυλ.
- Κόντρα
Πλακέ ή MDF: Μια οικονομική λύση που μπορείτε να
βάψετε ή να ντύσετε με αυτοκόλλητα.
Βεβαιωθείτε ότι τα υλικά είναι ανθεκτικά και κατάλληλα για το βάρος που θα
πρέπει να υποστηρίξουν.
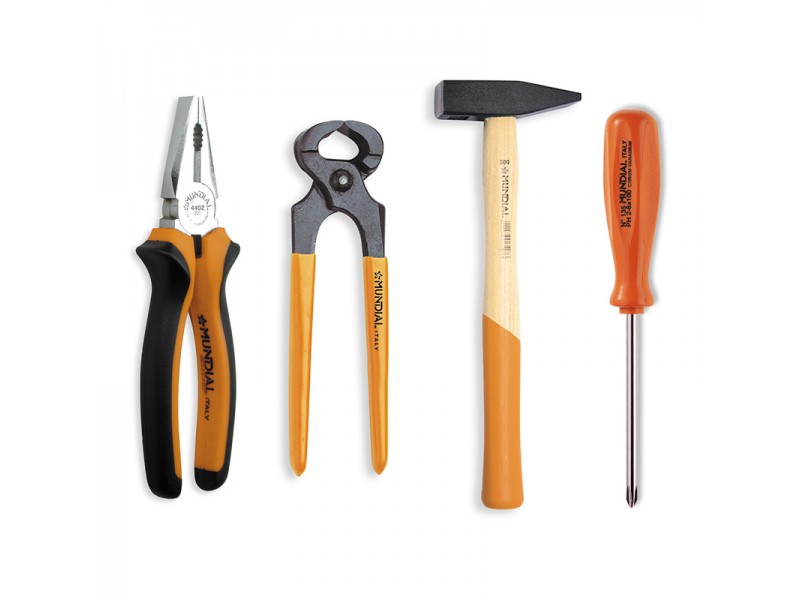
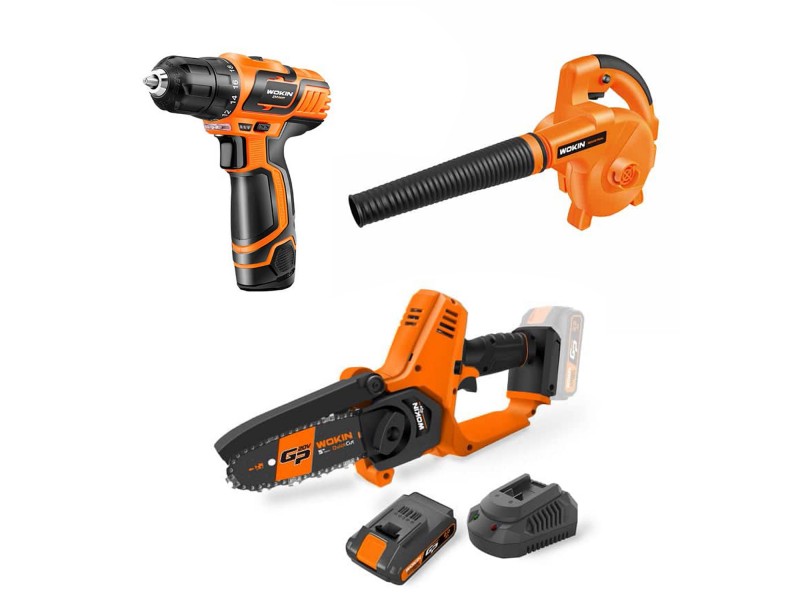
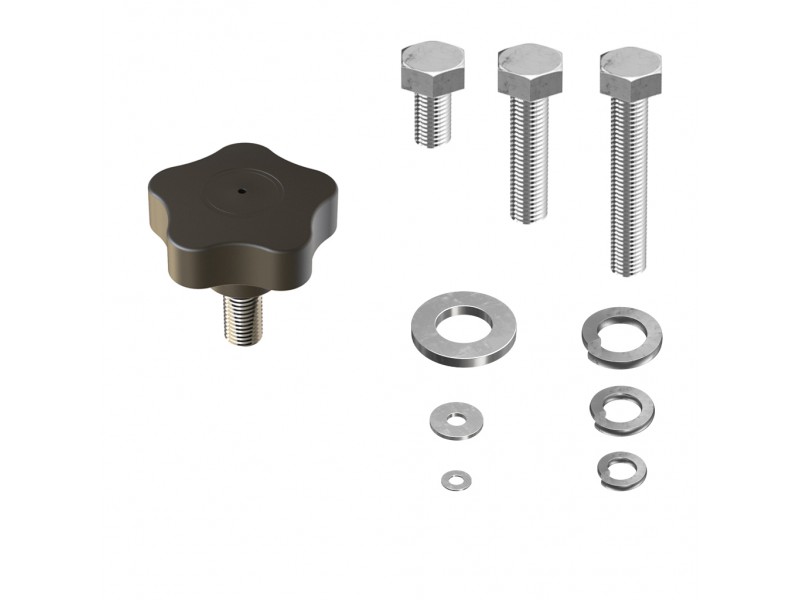
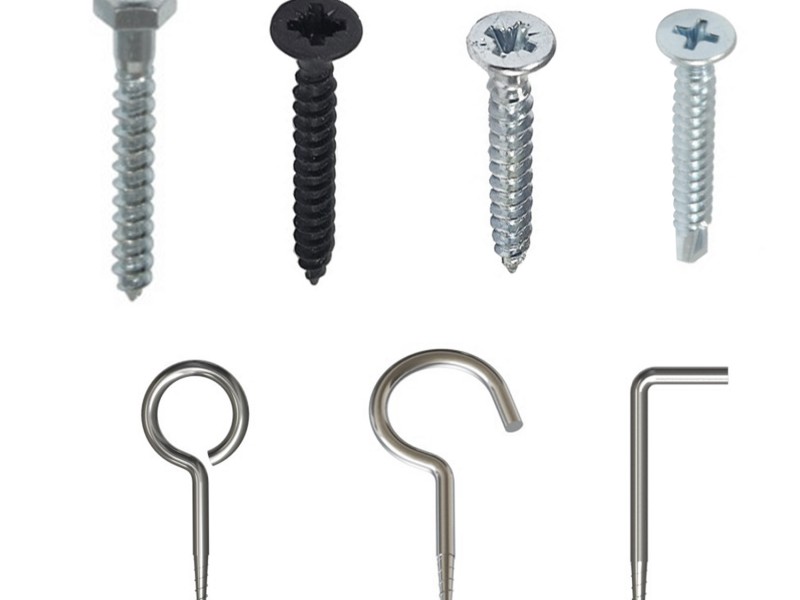
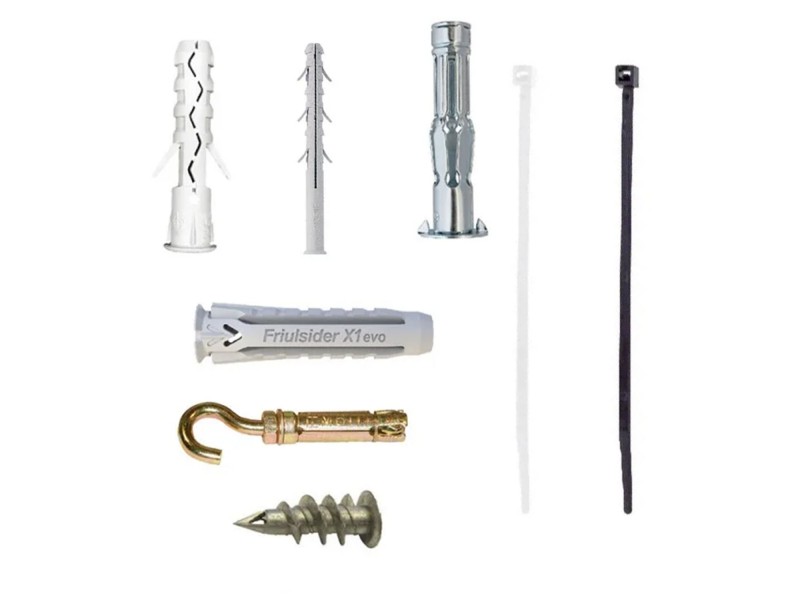
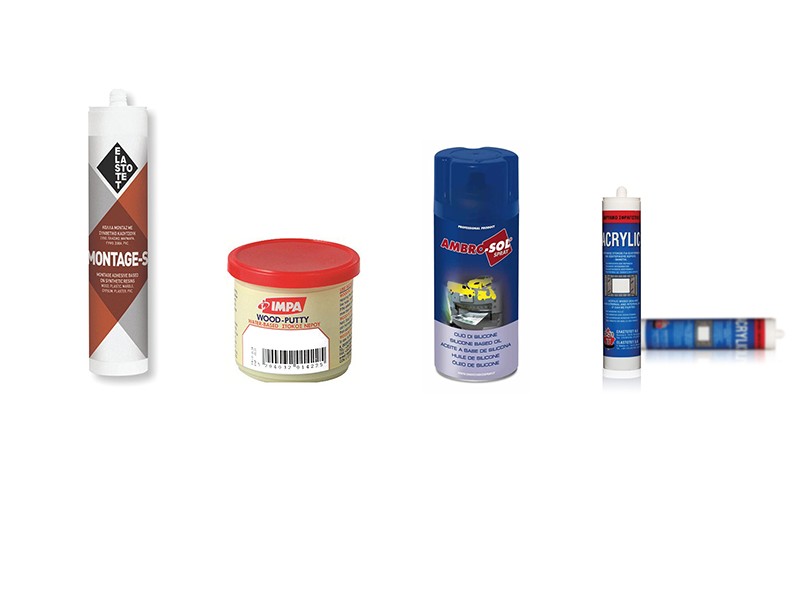
Εργαλεία που θα Χρειαστείτε
Για την κατασκευή της βιβλιοθήκης σας, πιθανότατα θα χρειαστείτε:
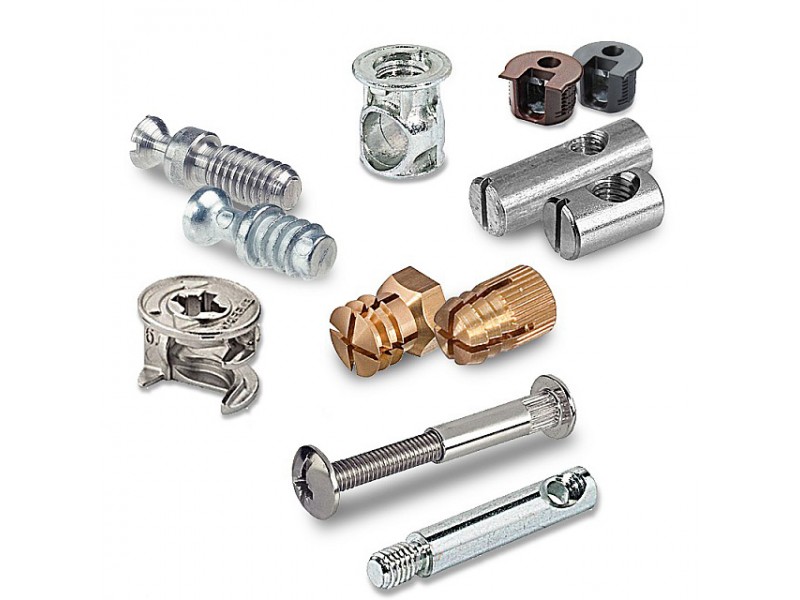
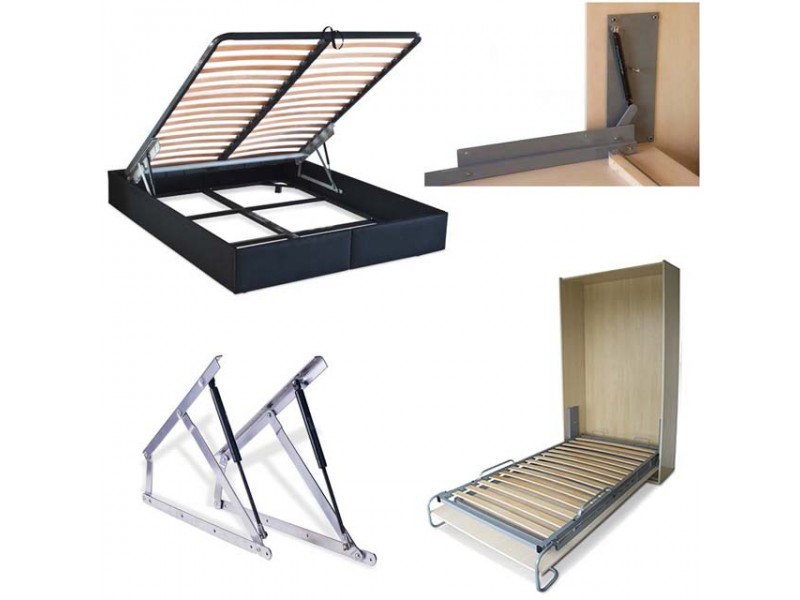
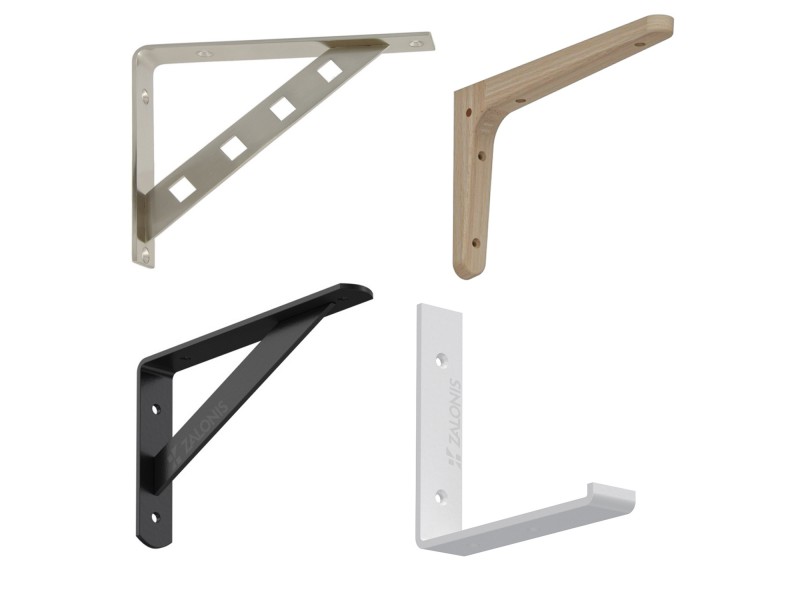
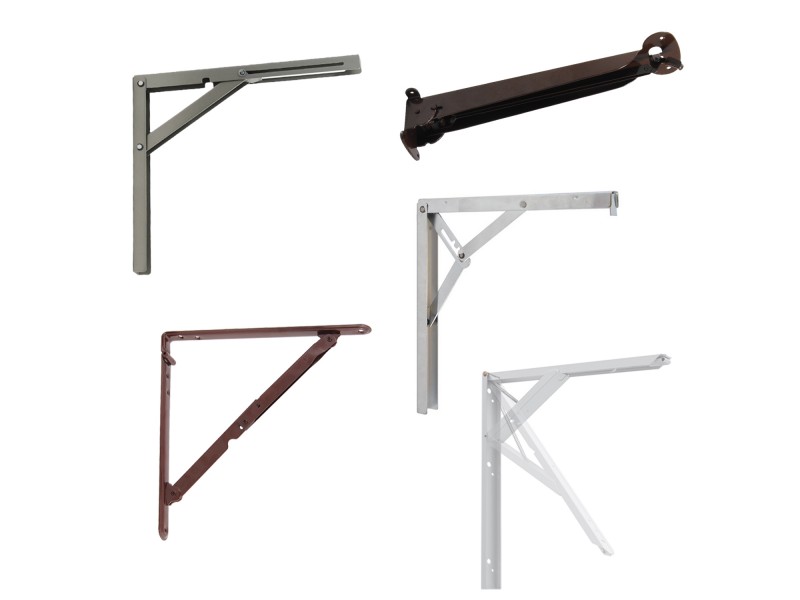
- Δράπανο και βίδες για τη στερέωση στον τοίχο.
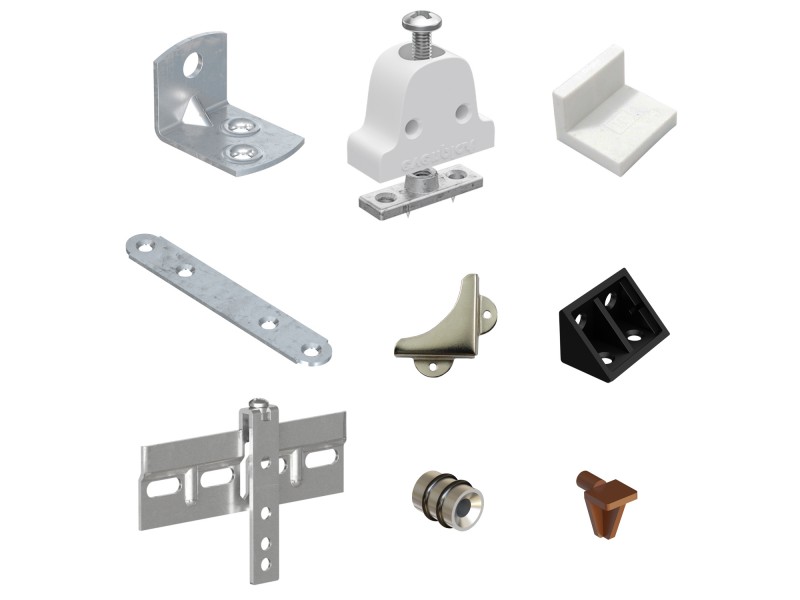
- Γωνιακά στηρίγματα για ενίσχυση στα ράφια.
- Μέτρο,
μολύβι και αλφάδι για ακριβείς μετρήσεις.
- Ξυλόκολλα
ή κόλλα γενικής χρήσης.
- Πριόνι ή
τροχό για την κοπή του ξύλου.
Βήματα Κατασκευής
Βήμα 1: Προετοιμασία του Χώρου
Αδειάστε τον τοίχο όπου θα τοποθετηθεί η βιβλιοθήκη και καθαρίστε την
επιφάνεια. Σημειώστε με μολύβι τις θέσεις των ραφιών και βεβαιωθείτε ότι είναι
οριζόντια χρησιμοποιώντας το αλφάδι.
Βήμα 2: Κοπή Υλικών
Κόψτε τα ξύλα ή τα υλικά που έχετε επιλέξει στις διαστάσεις που έχετε
καθορίσει. Αν δεν έχετε τα κατάλληλα εργαλεία, μπορείτε να ζητήσετε την κοπή
τους στο κατάστημα που τα αγοράσατε.
Βήμα 3: Συναρμολόγηση
Συνδέστε τα ράφια με τον τοίχο χρησιμοποιώντας τα γωνιακά στηρίγματα.
Βεβαιωθείτε ότι τα στηρίγματα είναι καλά βιδωμένα, ώστε να υποστηρίζουν το
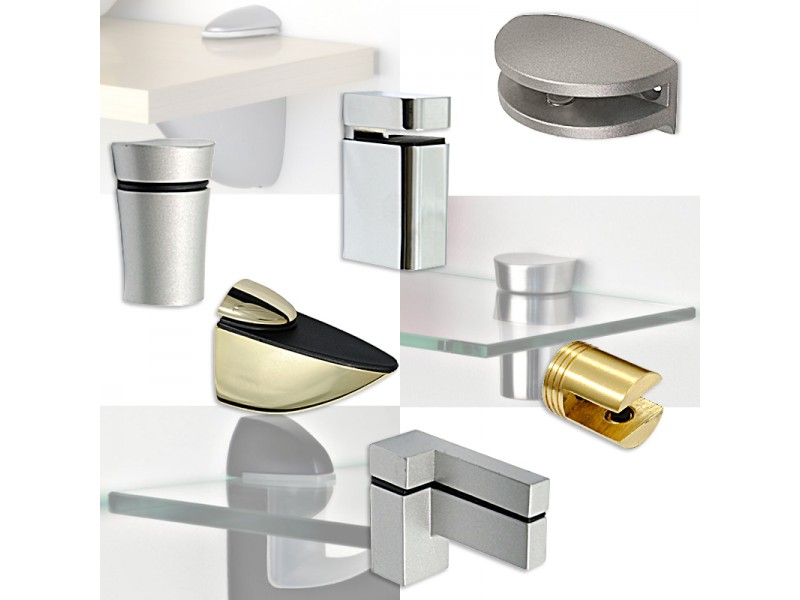
βάρος. Αν θέλετε πιο «αόρατη» εμφάνιση, εξετάστε την επιλογή ενσωματωμένων
βραχιόνων.
Βήμα 4: Φινίρισμα
Βάψτε ή λουστράρετε τα ξύλα ανάλογα με το στυλ σας. Προτιμήστε χρώματα και
υλικά που ταιριάζουν με την υπόλοιπη διακόσμηση του χώρου. Αφήστε τα να
στεγνώσουν πλήρως πριν προχωρήσετε στην τοποθέτηση αντικειμένων.
Βήμα 5: Διακόσμηση και Οργάνωση
Τοποθετήστε τα βιβλία σας με τρόπο που να αναδεικνύεται η αισθητική της
βιβλιοθήκης. Μπορείτε να προσθέσετε μικρά φυτά, κεριά, κορνίζες ή άλλα
διακοσμητικά για μια πιο ζεστή αίσθηση.
Προτάσεις Στυλ για τη Βιβλιοθήκη σας
- Μοντέρνα: Χρησιμοποιήστε λευκά ή μαύρα υλικά
με καθαρές γραμμές. Συνδυάστε ξύλο με μέταλλο για μοντέρνο
αποτέλεσμα.
- Ρουστίκ: Προτιμήστε φυσικό ξύλο με
ακατέργαστο φινίρισμα και ζεστές αποχρώσεις.
- Μινιμαλιστική: Δημιουργήστε ράφια που φαίνονται
σχεδόν «αόρατα» με κρυφά στηρίγματα.
- Πολύχρωμη: Χρησιμοποιήστε διαφορετικά χρώματα
για κάθε ράφι ή βάψτε τον τοίχο πίσω από τη βιβλιοθήκη για ένα
παιχνιδιάρικο αποτέλεσμα.
Συμβουλές για Επιτυχημένο DIY
- Ασφάλεια
Πρώτα: Βεβαιωθείτε
ότι η βιβλιοθήκη είναι σταθερά στερεωμένη στον τοίχο.
- Δοκιμές: Ελέγξτε το βάρος που μπορούν να
υποστηρίξουν τα ράφια πριν τα φορτώσετε.
- Προσαρμοστικότητα: Φτιάξτε μια βιβλιοθήκη που να
μπορείτε να τροποποιήσετε ή να επεκτείνετε στο μέλλον.
Η δημιουργία της δικής σας βιβλιοθήκης τοίχου είναι ένα διασκεδαστικό και
δημιουργικό project που θα
σας γεμίσει ικανοποίηση. Επιπλέον, θα αποκτήσετε ένα μοναδικό κομμάτι που θα
αντανακλά το προσωπικό σας γούστο και θα προσαρμόζεται στις ανάγκες σας. Με
λίγη οργάνωση και τη σωστή προετοιμασία, μπορείτε να δημιουργήσετε κάτι
πραγματικά ξεχωριστό!